

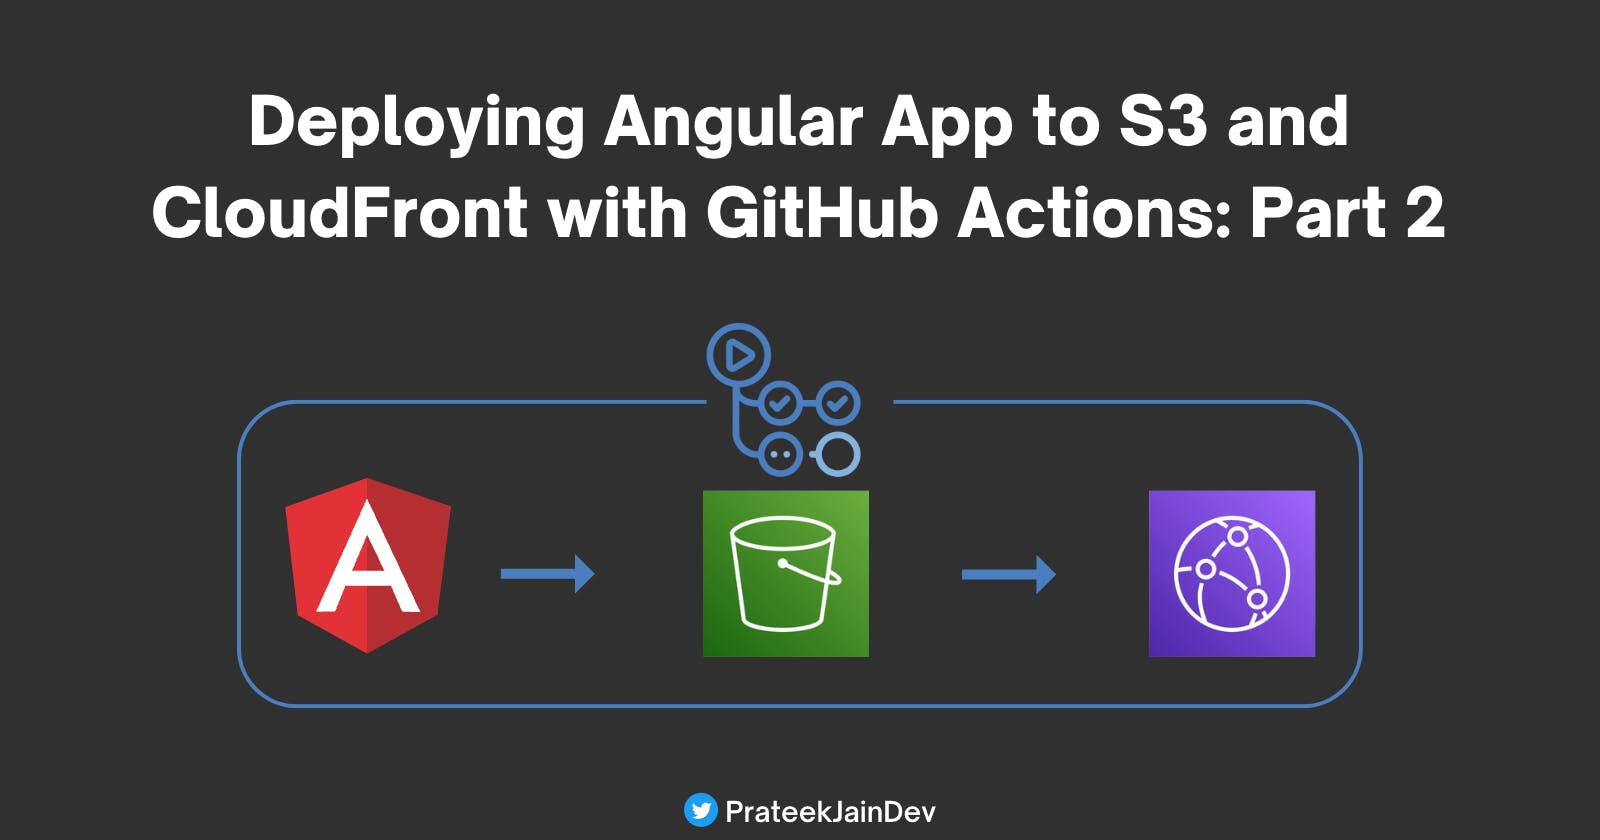


This is the second blog post in my two-part series, where we deploy an Angular app to AWS S3 and CloudFront using GitHub Actions and configure a custom domain for your application.
In the first part, we created all the necessary AWS resources, such as an S3 bucket, CloudFront Distribution, SSL certificate, and IAM user. We will utilize these resources in this blog post. If you haven't read the first blog post, you can find it here:
In this blog post, we will create a GitHub action that builds the Angular app, pushes the 'dist' folder to the S3 bucket, and invalidates the cache in the CloudFront Distribution.
Step 5: Create an Angular App
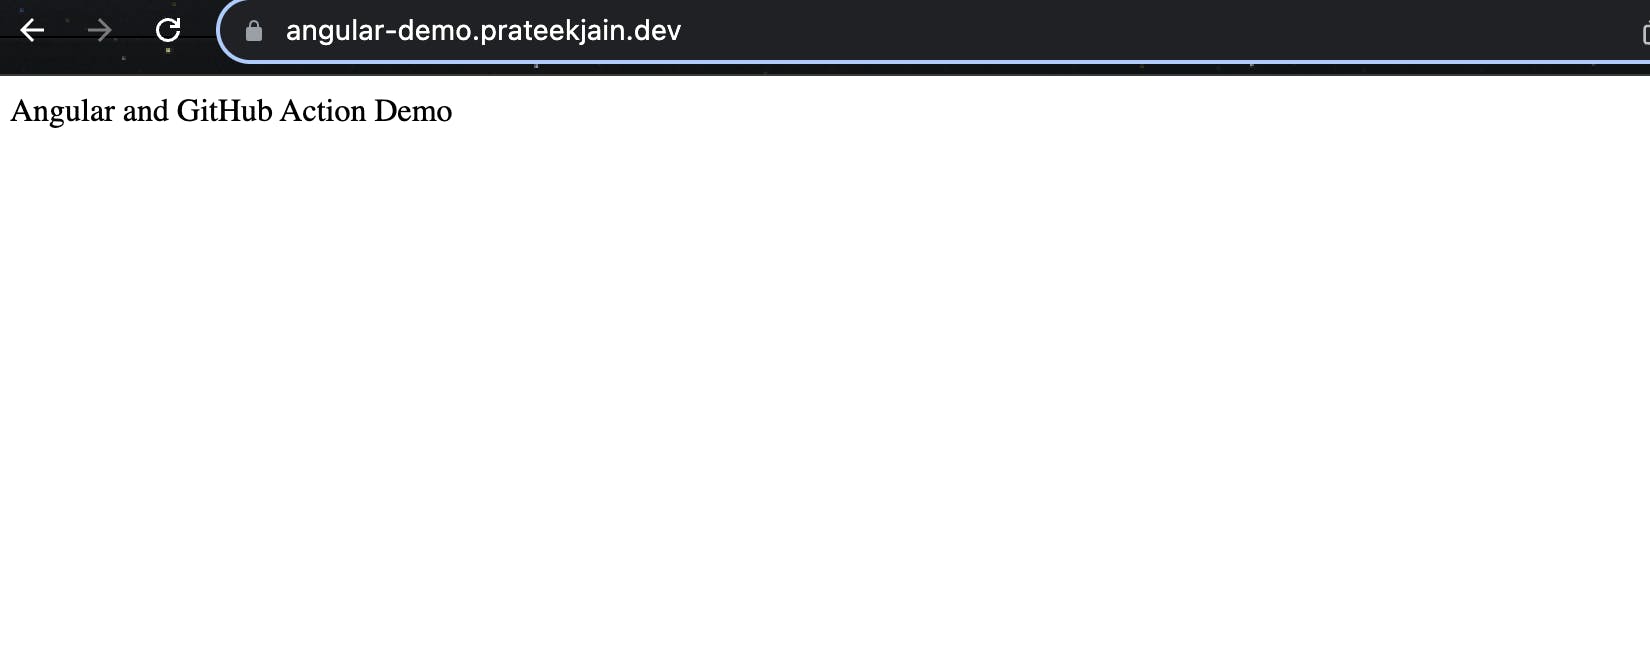
We will start with creating a simple angular app where I'm printing "Angular and GitHub Action Demo".

The dist path or outputPath will be dist/github-angular-demo
Step 6: Add Secrets in GitHub Repository
At this point, I assume your angular application is ready and pushed to the GitHub repository. Before working on the GitHub Action definition, we will add all the necessary secrets.
To do this, go to Settings -> Actions -> New repository secret.
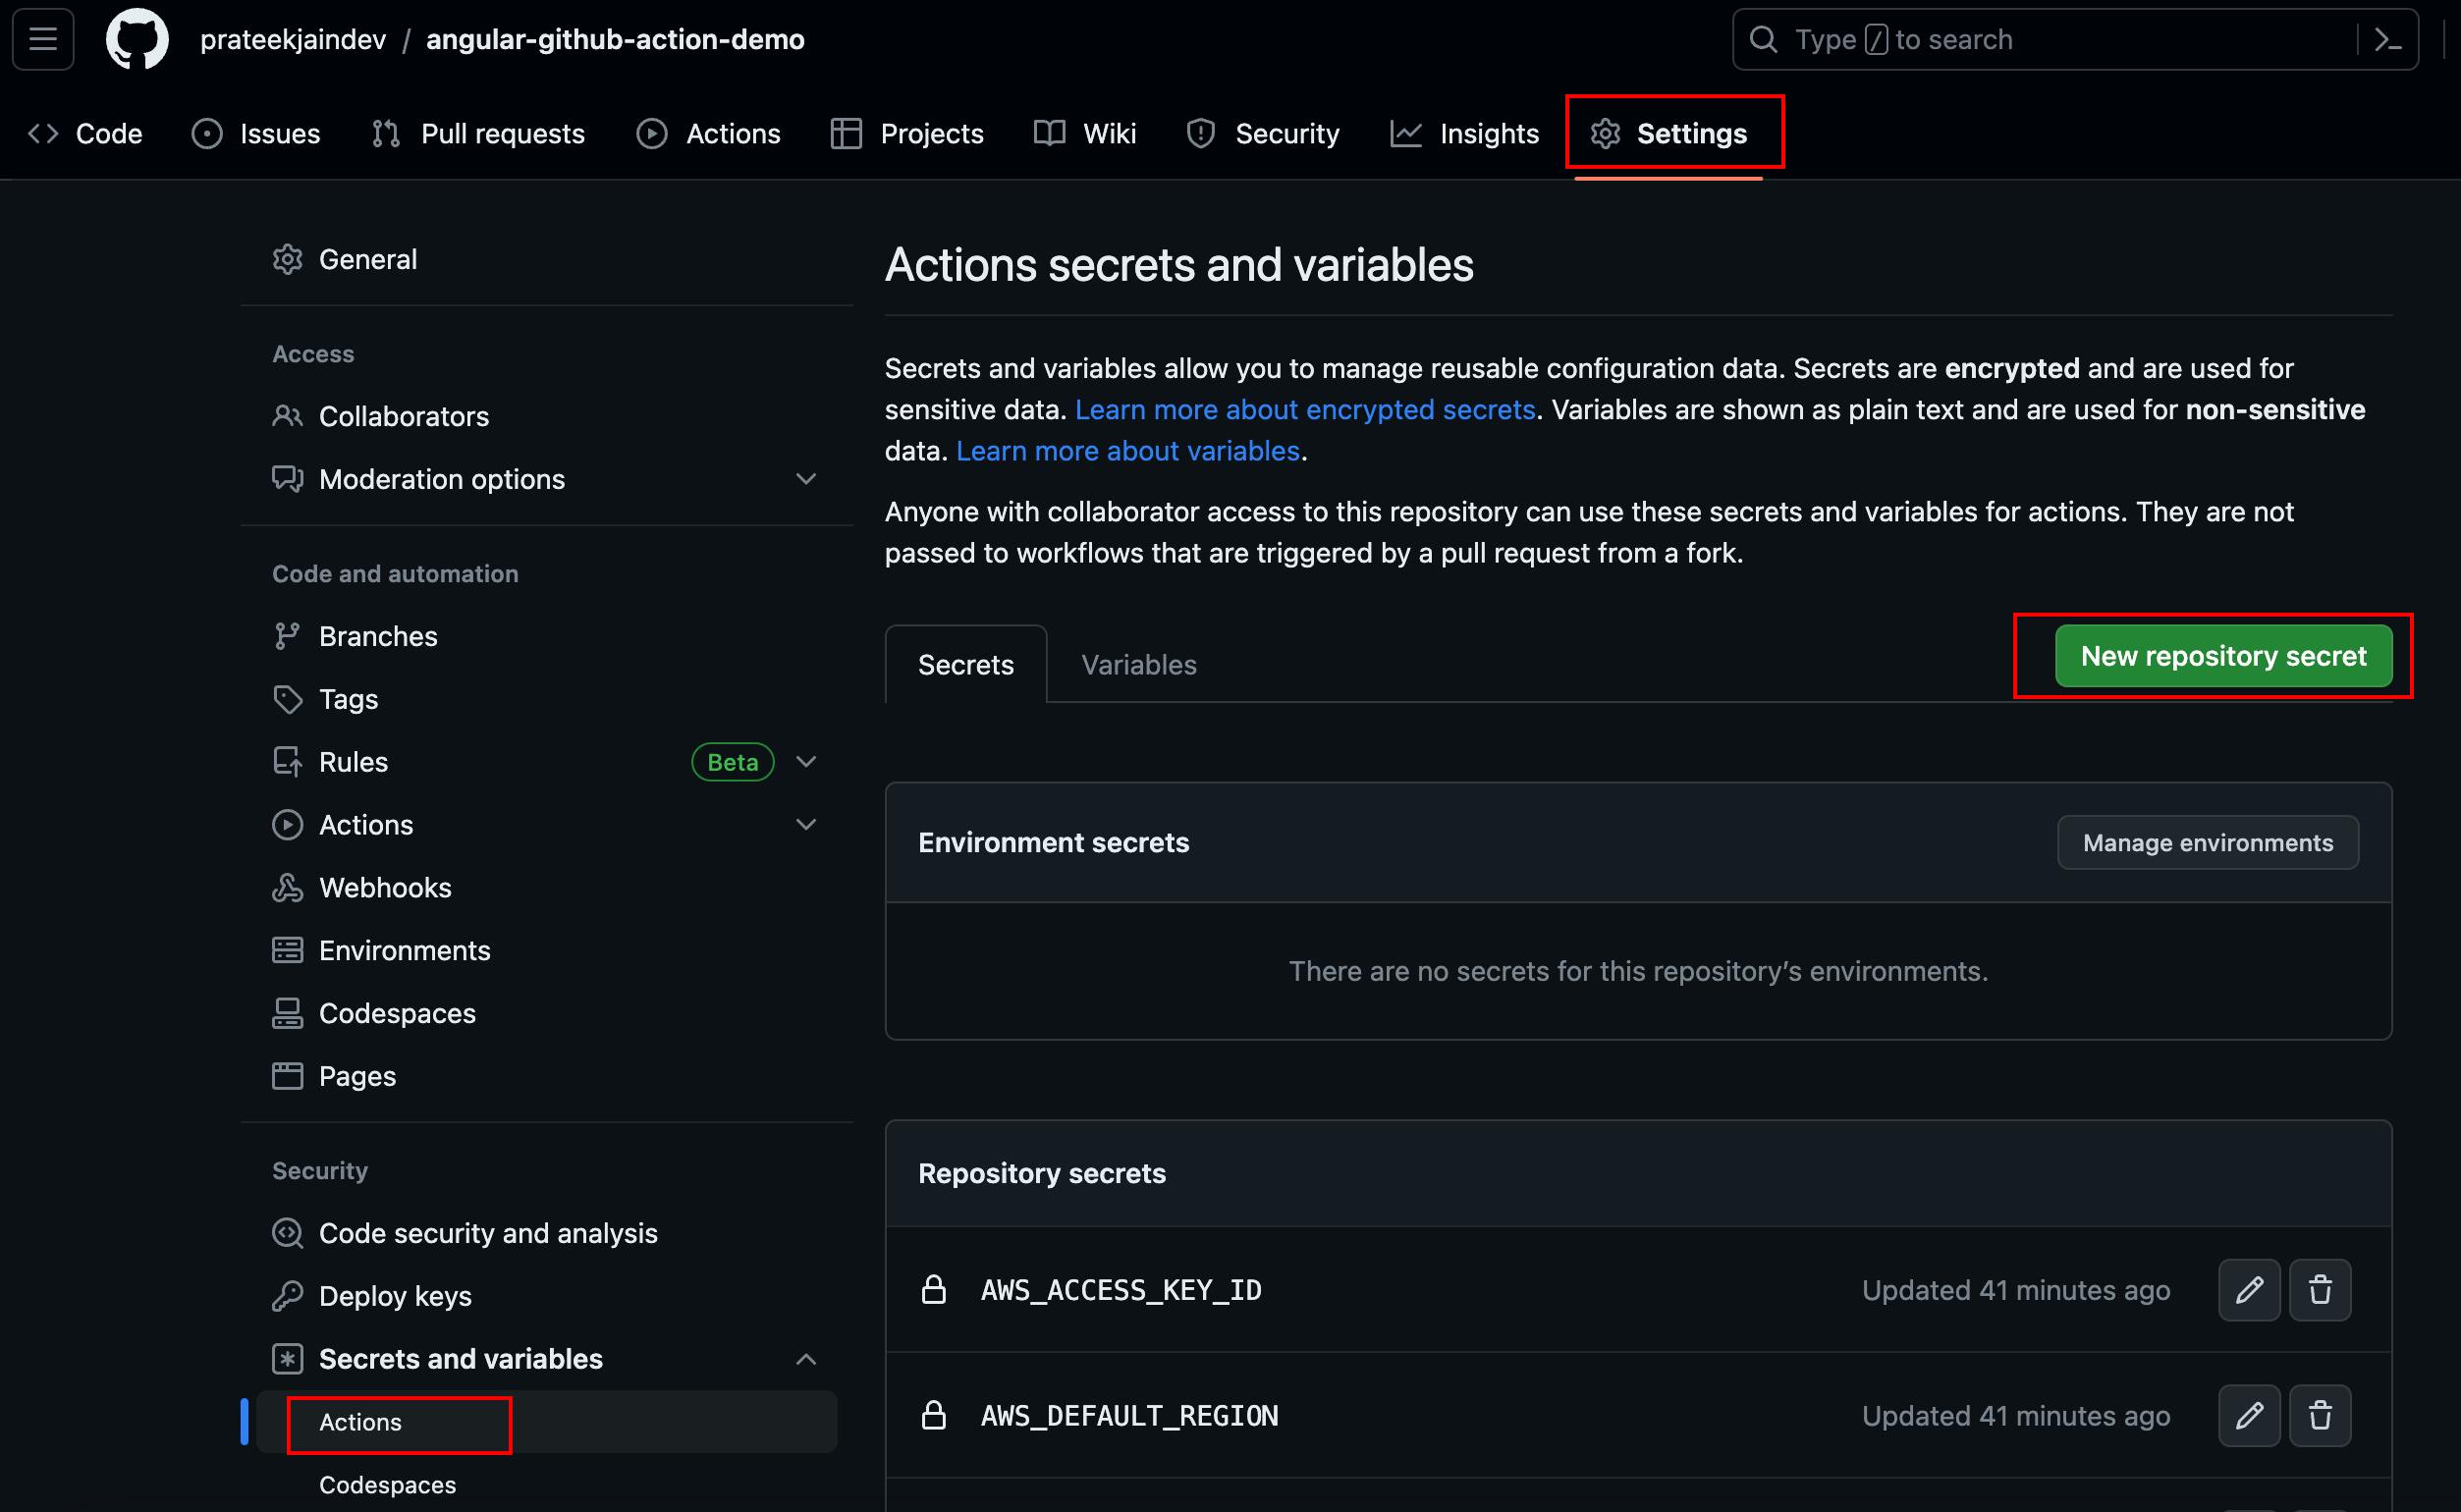
We need these five variables for the GitHub action:
AWS_ACCESS_KEY_ID: Refer to Step 4 of the first blog for thisAWS_SECRET_ACCESS_KEY: Refer to Step 4 of the first blog for thisAWS_DEFAULT_REGION: Enter the region code; in my case it's ap-south-1S3_BUCKET: Enter the name of the bucket that you created in Step 1 of the first blogCLOUDFRONT_DISTRIBUTION_ID: Enter the ID of the CloudFront Distribution that you created in Step 1 of the first blog

Step 7: Create GitHub Action
To create a GitHub Actions workflow, you'll need to follow these steps:
In your GitHub repository, create a new directory
.github/workflows.Inside the workflows directory, create a new file
deploy.yml.
Now add the following configuration in deploy.yml
name: Deploying Angular App to S3 and CloudFront

on:
  push:
    branches:
      - 'main'

jobs:
  build:
    name: Build Angular App
    runs-on: ubuntu-latest
    steps:
    - uses: actions/checkout@v3
    - uses: actions/setup-node@v3
      with:
        node-version: '18'

    - name: Install packages and dependencies
      run: npm install -g @angular/cli && npm install

    - name: Run build
      run: ng build

    - name: Upload Artifacts
      uses: actions/upload-artifact@v3
      with:
        name: artifacts
        path: dist/github-angular-demo/

  deploy:
    name: Development to S3 and CloudFront
    needs: build
    runs-on: ubuntu-latest
    steps:
    - name: Checkout
      uses: actions/checkout@v3

    - uses: actions/download-artifact@v3
      with:
        name: artifacts
        path: dist/github-angular-demo/

    - uses: aws-actions/configure-aws-credentials@v2
      with:
        aws-access-key-id: ${{ secrets.AWS_ACCESS_KEY_ID }}
        aws-secret-access-key: ${{ secrets.AWS_SECRET_ACCESS_KEY }}
        aws-region: ${{ secrets.AWS_DEFAULT_REGION }}

    - name: S3 Sync
      run: aws s3 sync dist/github-angular-demo/ s3://${{ secrets.S3_BUCKET }}

    - name: Cloudfront Invalidation
      run: aws cloudfront create-invalidation --distribution-id ${{ secrets.CLOUDFRONT_DISTRIBUTION_ID }} --paths "/*"
The GitHub Actions configuration above is easy to understand, but let's go through each section to ensure clarity:
In the first section, we have defined the event that triggers the workflow. In this case, the workflow is triggered on a push event to the main branch.
on:
  push:
    branches:
      - 'main'
The jobs section contains the list of jobs that will be executed in this workflow.
build: Defines a job named "Build Angular App". This job runs on an Ubuntu environment.
The first step checks out the repository using
actions/checkout@v3, which allows access to the source code.The second step sets up Node.js using
actions/setup-node@v3. It specifies the Node.js version as 18.The third step installs the necessary packages and dependencies for the Angular app by running
npm install -g @angular/cliandnpm install.The fourth step builds the Angular app by executing
ng build.The fifth step uploads the artifacts, which are the build output files, using
actions/upload-artifact@v3. The artifacts are stored with the name "artifacts" and the path is set todist/github-angular-demo/.
build:
    name: Build Angular App
    runs-on: ubuntu-latest
    steps:
    - uses: actions/checkout@v3
    - uses: actions/setup-node@v3
      with:
        node-version: '18'

    - name: Install packages and dependencies
      run: npm install -g @angular/cli && npm install

    - name: Run build
      run: ng build

    - name: Upload Artifacts
      uses: actions/upload-artifact@v3
      with:
        name: artifacts
        path: dist/github-angular-demo/
deploy: Defines a job named "Development to S3 and CloudFront". This job runs on an Ubuntu environment.
needs: Specifies that this job depends on the successful completion of the "build" job.
The first step checks out the repository using
actions/checkout@v3, which allows access to the source code.The second step downloads the artifacts (build output files) using
actions/download-artifact@v3. The artifacts are retrieved from the "artifacts" with the pathdist/github-angular-demo/.The third step configures AWS credentials using
aws-actions/configure-aws-credentials@v2. The credentials, including access key ID, secret access key, and region, are stored as secrets in the GitHub repository.The fourth step synchronizes the contents of the local
dist/github-angular-demo/directory with the specified S3 bucket using the AWS CLI commandaws s3 sync.The fifth step creates a CloudFront invalidation for all files using the AWS CLI command
aws cloudfront create-invalidation.
 deploy:
    name: Development to S3 and CloudFront
    needs: build
    runs-on: ubuntu-latest
    steps:
    - name: Checkout
      uses: actions/checkout@v3

    - uses: actions/download-artifact@v3
      with:
        name: artifacts
        path: dist/github-angular-demo/

    - uses: aws-actions/configure-aws-credentials@v2
      with:
        aws-access-key-id: ${{ secrets.AWS_ACCESS_KEY_ID }}
        aws-secret-access-key: ${{ secrets.AWS_SECRET_ACCESS_KEY }}
        aws-region: ${{ secrets.AWS_DEFAULT_REGION }}

    - name: S3 Sync
      run: aws s3 sync dist/github-angular-demo/ s3://${{ secrets.S3_BUCKET }}

    - name: Cloudfront Invalidation
      run: aws cloudfront create-invalidation --distribution-id ${{ secrets.CLOUDFRONT_DISTRIBUTION_ID }} --paths "/*"
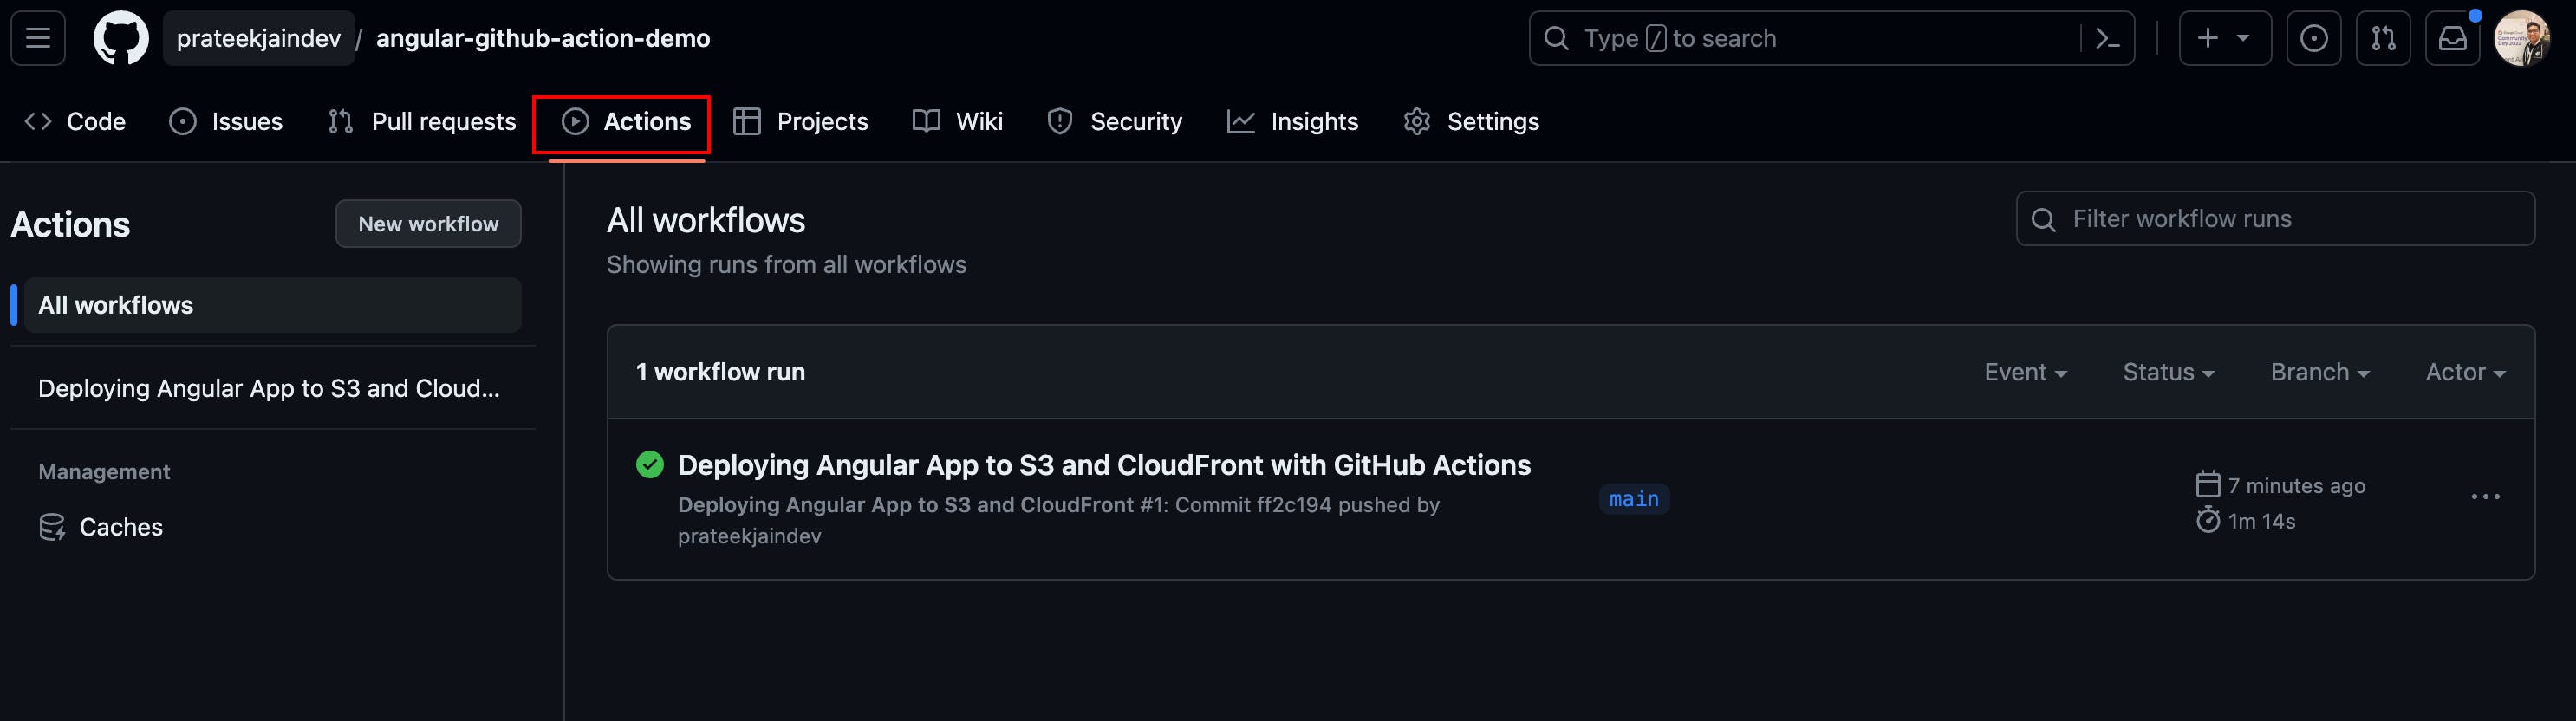
Now it's time to commit the changes and push them to the repository. The GitHub workflow will be triggered as soon as you push the changes, and it will build the 'dist' for your application, upload the 'dist' to the S3 bucket, and invalidate the CloudFront distribution within a few minutes.
You can check the status of the GitHub workflow in the Actions tab of your repository.
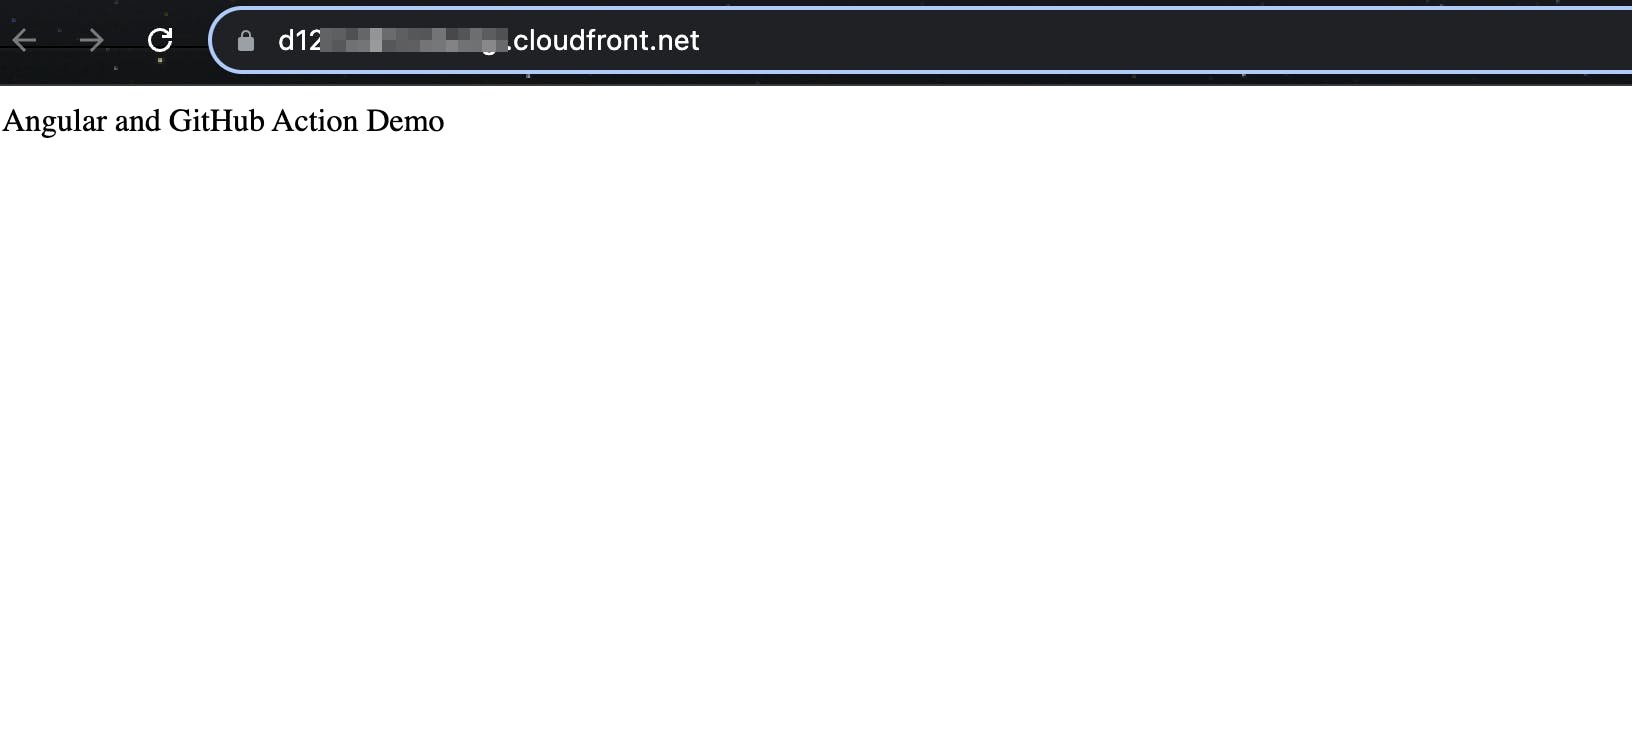
If everything goes as expected, you should be able to access your site via the CloudFront distribution domain, which will resemble this format: d12mxxxxxxxxx.cloudfront.net.
Step 7: Map Cloudfront URL to your Domain
Now that we've confirmed the site is functioning on the CloudFront domain, it's time to add a DNS record to make the site live on our domain. In my case, the DNS is hosted on Cloudflare, so I will add a CNAME record there.
Make sure the proxy is disabled if you are using Cloudflare

Wait for DNS propagation to occur. This process typically takes some time, ranging from a few minutes to several hours, depending on various factors. For me, it took less than a min.
Once DNS propagation is complete, you can test the connection by accessing your domain in a web browser.
Congratulations! You have successfully created a GitHub Action to build and deploy your Angular application to S3 and CloudFront 🎉
You can find the source code of the above blog in the following GitHub repository.
If you found this blog helpful, please give it a like and follow me on Hashnode for more insightful content. Additionally, you can connect with me on Twitter at PrateekJainDev to stay updated with my latest posts and discussions.

Happy coding and DevOps!